🌧
第一章 安装iTerm2及配置oh-my-zsh
安装完成打开终端切换zsh模式,需重启终端后生效
chsh -s /bin/zshDocuments目录下下载iTerm2-Color跟oh-my-zsh
git clone https://gitee.com/xiaolouuu/iTerm2-Color-Schemes.git
git clone https://gitee.com/mirrors/oh-my-zsh.git
进入tools目录执行sh -c ./install.sh进行安装
cd Documents/oh-my-zsh/tools
sh -c ./install.sh
根目录下编辑主题文件
vim .zshrc找到ZSH_THEME=”robbyrussell”把robbyrussell替换成agnoster

E45故障请用:w !sudo tee %命令保存退出
第二章 字体的安装
2.1 进入Documents目录然进行字体下载
git clone https://gitee.com/zgq0301/fonts.git
2.2 进入字体目录执行open .安装Meslo LG M Italic for Powerline.ttf字体
cd Documents/fonts/Meslo\ Slashed/
open .
2.3 打开iTerm2配置刚才安装的字体

第三章 安装代码高亮插件
3.1 ./oh-my-zsh/plugins/目录下安装以下两个插件
cd ./oh-my-zsh/plugins/
git clone https://gitee.com/victor_htq/zsh-autosuggestions.git
git clone https://gitee.com/victor_htq/zsh-syntax-highlighting.git
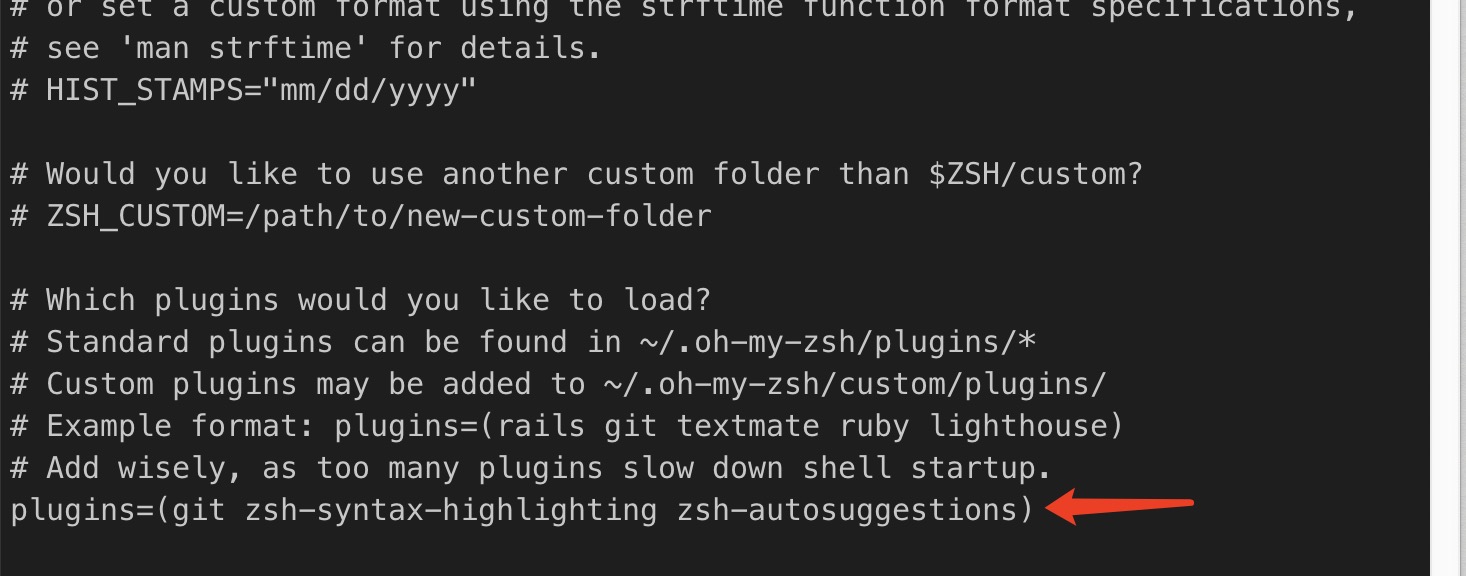
3.2 编辑根目录下.zshrc配置文件,找到plugins=(git)在括号内添加如下
cd ~
zsh- autosuggestions zsh-syntax-highlighting
source .zshrc #重新加载

3.3 配置完高亮代码后如下,正确显示蓝色,错误则显示红色
<img src=”/images/22.jpg” width=”50%” height=”50%”